Easy Free Crochet Dishcloth Pattern: Step-by-Step Guide
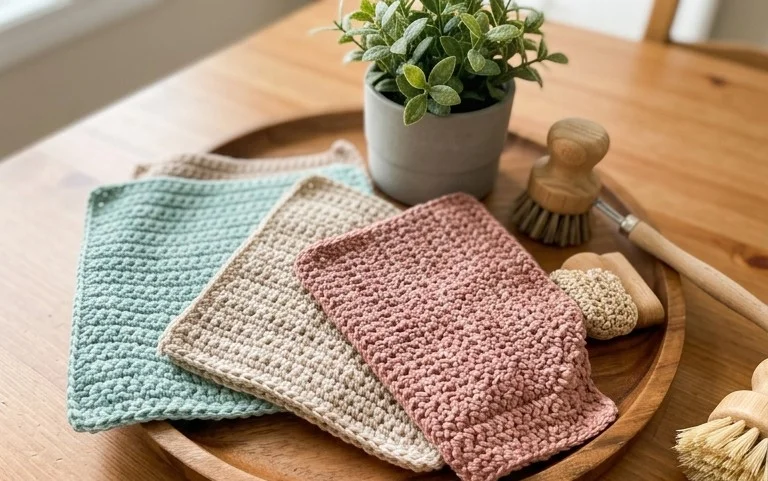
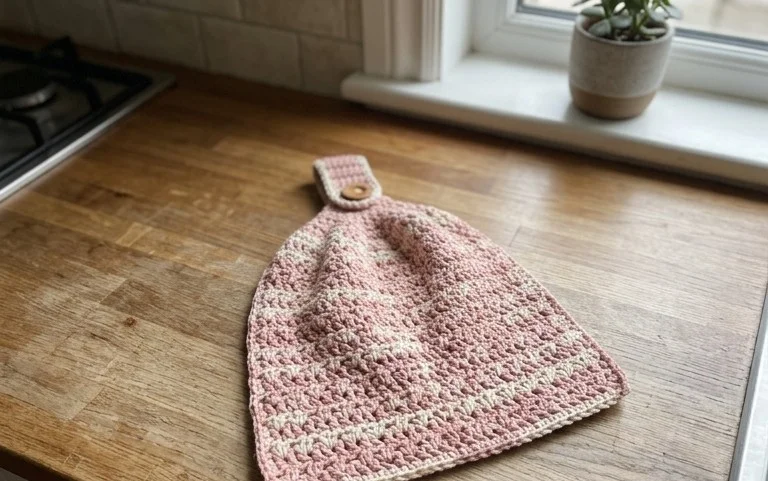
Cotton yarn leaves a soft, nubby texture on your skin that makes these washcloths feel much better than store-bought sponges. This project suits anyone who wants to practice basic stitches while creating something genuinely useful for their home. You will learn to work in the round, manage tension, and finish corners that lie perfectly flat. The rhythm of these double crochet clusters is incredibly soothing after a long day. Once you finish your first square, you will understand why these make such thoughtful gifts for neighbors or housewarming presents that actually get used in the kitchen every single day.
Why This Project Is Worth Making
The Classic Crochet Granny Square is the fundamental building block of crochet design. This specific version uses a traditional three-double crochet cluster pattern, making it a meditative, rhythmic project that requires little mental effort once you finish the first round. Because it works from the center outward, you can stop at any time to create a coaster, or keep adding rounds to grow a full-sized blanket.
This pattern is perfect for utilizing leftover yarn remnants from previous projects. You can easily switch colors on every round to create a scrap-friendly stash buster. The dense texture provides enough warmth for blankets while remaining flexible enough for home decor items like pillows or table runners. Experienced crocheters often return to this pattern when they need a portable project that does not require constant focus on a complex chart.
I finally mastered the granny square after struggling with other patterns for weeks. The instructions here made the corner spaces so easy to identify, and my squares finally lie flat instead of curling.
— Sarah, hobbyist crafter
Pattern Overview & Skill Level
- Skill Level: Beginner
- Approximate Time: 30 to 45 minutes per square
- Construction: Worked in rounds from the center outward using joined rounds
- Finished Dimensions: Approximately 5 inches by 5 inches using medium weight yarn
Materials & Supplies Needed
- Yarn: Worsted weight (#4), 100% acrylic or wool blend, approximately 20 yards per square.
- Hook Size: 5.0 mm (H-8) aluminum or ergonomic crochet hook.
- Notions: Yarn needle for weaving ends, scissors, and a measuring tape.
- Safe yarn substitutions: You may use DK weight (#3) yarn with a 4.0 mm hook for a smaller, tighter square, or bulky weight (#5) with a 6.0 mm hook for a larger, faster-working square.
Stitch Guide & Abbreviations (US Terms)
- ch = chain
- sl st = slip stitch
- dc = double crochet
- st/sts = stitch/stitches
- sp = space (the gap created by ch-1 or ch-2)
- Cluster = a group of 3 dc worked into the same space
- Corner = (dc 3, ch 2, dc 3) worked into the same chain space
Step-by-Step Pattern Instructions
Square Body
- Rnd 1: Start with a magic ring. Ch 3 (counts as first dc), work 2 dc into the ring, ch 2, 3 dc, ch 2 3 times. Join with a sl st to the top of the beginning ch 3. (12 sts, 4 ch-2 sps)
- Rnd 2: Sl st into the next 2 sts and into the first ch-2 sp. Ch 3, (2 dc, ch 2, 3 dc) in same sp. Ch 1, in next ch-2 sp work (3 dc, ch 2, 3 dc) 3 times. Ch 1, join with sl st to top of beginning ch 3. (24 sts, 4 ch-2 sps, 4 ch-1 sps)
- Rnd 3: Sl st into the next 2 sts and into the next ch-2 corner sp. Ch 3, (2 dc, ch 2, 3 dc) in corner sp. Ch 1, 3 dc in next ch-1 sp, ch 1, (3 dc, ch 2, 3 dc) in next corner sp 3 times. Ch 1, 3 dc in final ch-1 sp, ch 1, join with sl st to top of beginning ch 3. (36 sts)
- Rnd 4 and beyond: Continue in established pattern, working 3 dc in each side ch-1 space and (3 dc, ch 2, 3 dc) in each corner ch-2 space. Join every round with a sl st to the first dc.
Finishing
Fasten off your yarn, leaving a 6-inch tail. Pull the tail through the final loop to secure it. Use a yarn needle to weave the end back and forth through the back loops of the stitches on the reverse side of the square to ensure the knot does not come undone during washing.
Care & Washing Instructions
- Machine wash your finished item on a gentle cycle in cool water with mild detergent.
- Lay the item flat on a clean towel to air dry, reshaping it while damp to ensure square corners.
- Avoid using high heat during drying as it can compromise the structural integrity of synthetic fibers.
Pro Tips & Common Mistakes to Avoid
Maintain consistent tension by holding your yarn with light, even pressure throughout the entire round. If your square begins to cup or ruffle, try going up or down half a hook size. Always place a stitch marker in the first stitch of every round; this helps you identify where to join your slip stitch at the end, preventing the common mistake of working into the wrong chain. To adjust the size of the square, simply add more rounds; note that each additional round increases your yarn usage by approximately 20 percent compared to the previous round.
Frequently Asked Questions
Can I use cotton yarn instead of acrylic?
Yes, cotton yarn works well for squares, though it has less stretch and may result in a stiffer final product. Use the same hook size, but be aware that cotton is heavier and will require more yardage for larger projects.
Why are my corners curling up?
Curling usually happens if your tension is too tight or if you are skipping the chain-1 spaces between the side clusters. Ensure you are working into the spaces clearly and not pulling your chains too tightly.
How do I join these squares together?
You can join squares using a whip stitch or a single crochet seam. A whip stitch creates a flat, flexible join, while a single crochet seam adds a decorative, raised ridge between the squares.
Am I allowed to sell items made from this pattern?
You are welcome to sell finished items made from this pattern. We simply ask that you credit the designer if you share photos of your work online or at craft markets.
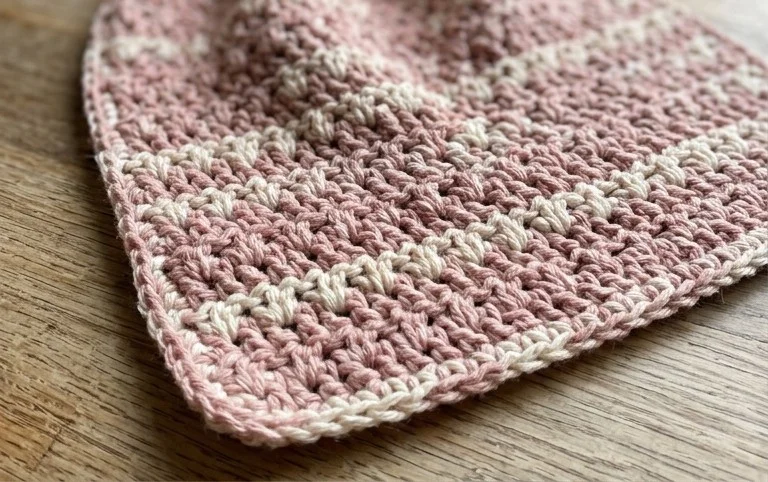
Your finished cotton cloth adds a handmade touch to any sink area and works harder than you might expect. Try holding two different strands of yarn together for a thicker, more scrubby texture that handles tough pots with ease. If you want a larger size, just continue adding rounds until the fabric reaches your preferred width. Share a photo of your work to show off your color choices and visit the rest of the blog for more free projects that keep your hands busy.