35 Free Moose Crochet Patterns: Easy Woodland Amigurumi
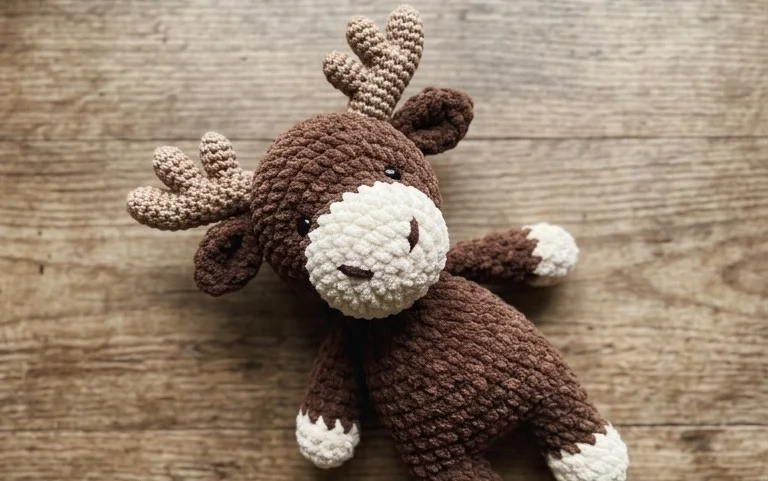
A handmade moose offers a rustic, woodland charm that brings warmth to any nursery shelf or desk corner. These plush figures feature sturdy antlers and rounded bodies that sit comfortably in your palm, making them a joy to construct for anyone from beginners to experienced gift makers. You will master the amigurumi technique of working in continuous rounds, which keeps your stitches uniform and hidden. Whether you need a quick handmade gift or a soft companion for a child, these patterns provide a meditative process that turns a ball of yarn into a character with personality.
Why You’ll Love This Pattern
This beginner-friendly crochet heart is a classic project that relies on simple shaping and minimal sewing. It works up in under thirty minutes, making it an ideal choice for last-minute gifts or as a way to practice continuous rounds. Because it uses less than 20 yards of worsted weight yarn, it is a perfect solution for using up those small leftover balls from larger projects. The structure is stable enough to hold its shape as a bag charm, a keychain, or a stuffed ornament.
I managed to finish three of these during my lunch break. The instructions were very easy to follow and the shape turned out perfectly rounded without any puckering.
— Sarah, amigurumi hobbyist
Pattern Overview & Skill Level
- Skill Level: Beginner
- Approximate Time: 30 minutes
- Construction: Amigurumi-style continuous rounds, starting from two separate bumps joined into one piece, then decreased to a point.
- Finished Dimensions & Sizing: Approximately 3 inches wide by 2.5 inches tall when using the recommended yarn and hook.
Materials & Supplies Needed
- Yarn: Worsted weight (#4), 100% acrylic or cotton, approximately 20 yards.
- Hook Size: 4.0 mm / G-6.
- Notions: Tapestry needle, stitch markers, and a small handful of polyester fiberfill stuffing.
- Safe yarn substitutions: You can use DK weight yarn with a 3.5 mm hook to create a smaller, more delicate heart, or bulky weight yarn with a 5.5 mm hook for a larger, squishier plush version.
Stitch Guide & Abbreviations (US Terms)
- MR: Magic Ring
- ch: Chain
- sc: Single crochet
- inc: Increase (work 2 sc in the same stitch)
- dec: Decrease (sc2tog; insert hook into front loops of next 2 stitches, yarn over, pull through, yarn over, pull through both loops on hook)
- sl st: Slip stitch
- st(s): Stitch(es)
Step-by-Step Pattern Instructions
Heart Bumps (Make 2)
- Rnd 1: Start 6 sc in a magic ring (6 sts).
- Rnd 2: Inc in each st around (12 sts).
- Rnd 3: (1 sc, inc) repeat 6 times (18 sts).
- Rnd 4: 18 sc (18 sts).
For the first bump, fasten off and weave in the end. For the second bump, do not fasten off. You will use the working yarn from the second bump to join the two pieces together.
Joining and Body
- Rnd 5: Hold the two bumps together. Sc into any stitch on the first bump, then continue to sc around the remaining 17 stitches of the first bump. Move to the second bump and sc around all 18 stitches. You now have a joined figure-eight shape (36 sts).
- Rnds 6-7: Sc in each st around (36 sts).
- Rnd 8: (4 sc, dec) repeat 6 times (30 sts).
- Rnd 9: (3 sc, dec) repeat 6 times (24 sts).
- Rnd 10: (2 sc, dec) repeat 6 times (18 sts).
Begin stuffing the heart firmly with fiberfill at this stage. Ensure you push the stuffing into the two top bumps so they retain their rounded shape.
Closing
- Rnd 11: (1 sc, dec) repeat 6 times (12 sts).
- Rnd 12: Dec 6 times (6 sts).
Fasten off, leaving a 6-inch tail. Use your tapestry needle to weave the yarn through the front loops of the remaining 6 stitches and pull tight to close the hole. Weave the remaining tail into the center of the heart to hide it.
Care & Washing Instructions
- Hand wash in cool water with a mild detergent to prevent the stuffing from clumping or shifting.
- Gently squeeze out excess water, then lay the item flat on a clean towel to air dry completely.
- Do not iron or steam, as high heat can melt synthetic fibers and collapse the polyester stuffing inside.
Pro Tips & Common Mistakes to Avoid
- Tension: Keep your stitches tight to prevent the stuffing from showing through the fabric; if you see gaps, consider going down one hook size.
- Counting: Always use a stitch marker at the beginning of each round to avoid losing your place, especially when transitioning between the bumps.
- Weaving ends: For an invisible finish, thread your tail through a needle and pass it through the center of the heart several times before clipping the yarn close to the surface.
- Size adjustment: To make a larger heart, increase the number of stitches in your initial magic ring to 8 instead of 6, then increase by 8s instead of 6s; note that this will require significantly more yarn.
Frequently Asked Questions
Can I use velvet yarn for this pattern?
Yes, velvet yarn works well, but remember that it is slippery and harder to see your stitches. Use a slightly smaller hook than the yarn label recommends to keep the stuffing from poking out.
Is this project suitable for a complete beginner?
Yes, this is an excellent starter project because it uses only basic single crochet stitches and introduces the concept of working in continuous rounds and joining pieces together.
How do I adjust the size of the heart?
You can make the heart larger by adding more increase rows at the beginning or smaller by omitting one of the increase rounds. Always ensure your final stitch count is a multiple that allows for consistent decreases.
Can I sell the finished hearts I make?
You are welcome to sell items made from this pattern as long as you credit me as the designer. Please use your own photos rather than using the images from this tutorial.
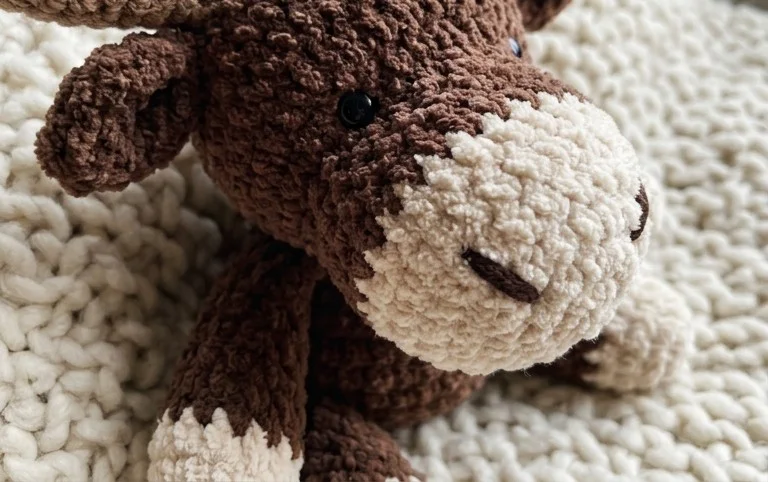
Your finished moose makes a charming companion for a reading nook or a thoughtful handmade gift for a friend. You can experiment with different textures by using velvet or fluffy chenille yarn for an extra cozy feel. Sharing photos of your finished work on social media helps others find inspiration for their own yarn stash. Browse our main blog archives for more woodland creature projects and additional free patterns to build your own forest collection of soft, huggable figures that last for years.