Easy Crochet Coaster Pattern: Free Step-by-Step Guide
These cotton coasters sit flat on any tabletop with a tight, nubby texture that guards wood from rings and heat damage. They provide a quick win for those new to crochet because you only need to master the magic ring and simple double crochet increases to shape the circle. You can spend an afternoon making a full set for your coffee table or prepare a stack as a thoughtful housewarming gift for friends. Working in a spiral keeps the project rhythmic and meditative, allowing you to focus on your stitch tension while building confidence in your ability to follow a written pattern.
Why You’ll Love This Pattern
This beginner-friendly crochet coaster pattern provides a quick and satisfying project that works up in less than 30 minutes. You can create a full set using only small amounts of leftover cotton yarn, making it an excellent way to organize your craft supplies. The dense stitch structure ensures these coasters are heat-resistant and absorbent, protecting your wooden surfaces from hot mugs and condensation. Because the design utilizes a simple circular increase, it serves as a foundational exercise for anyone wanting to master working in the round.
These coasters are the perfect size for my morning coffee mug, and I managed to finish a set of four in one afternoon while watching a movie. The instructions were very easy to follow.
— Sarah, casual crafter
Pattern Overview & Skill Level
- Skill Level: Beginner
- Approximate Time: 20-30 minutes per coaster
- Construction: Continuous rounds worked in a spiral from the center outwards
- Finished Dimensions: Approximately 4 inches in diameter
Materials & Supplies Needed
- Yarn: Worsted weight (#4) 100% cotton yarn, approximately 15 yards per coaster. Cotton is essential for heat resistance and absorbency.
- Hook Size: 5.0 mm (US H-8) crochet hook.
- Notions: Tapestry needle for weaving ends, stitch marker to keep track of the start of the round.
- Yarn substitutions: You may use acrylic yarn if the coasters are for cold drinks only, though acrylic will melt if a very hot mug is placed on it. Using a finer yarn weight will result in a smaller coaster, while a bulky weight yarn will create a larger, thicker pad.
Stitch Guide & Abbreviations (US Terms)
- MR: Magic Ring.
- ch: Chain.
- sc: Single crochet.
- inc: Increase (2 sc in the same stitch).
- sl st: Slip stitch.
- st/sts: Stitch/stitches.
Step-by-Step Pattern Instructions
Coaster Body
- Rnd 1: Start with a MR, work 6 sc into the ring. Tighten ring and place a stitch marker in the last stitch (6 sts).
- Rnd 2: Work 2 sc in each st around (12 sts).
- Rnd 3: [1 sc, inc] 6 times around (18 sts).
- Rnd 4: [1 sc, inc, 1 sc] 6 times around (24 sts).
- Rnd 5: [3 sc, inc] 6 times around (30 sts).
- Rnd 6: [2 sc, inc, 2 sc] 6 times around (36 sts).
Finishing
Once you have completed Rnd 6, perform a sl st into the next stitch to level off the edge. Cut the yarn, leaving a 6-inch tail. Pull the tail through the final loop and use your tapestry needle to weave the end securely into the back of the coaster. Trim any excess yarn close to the fabric to ensure a flat finish.
Care & Washing Instructions
- Machine wash on a gentle cycle in warm water using mild detergent.
- Lay flat on a clean towel to dry, shaping the coaster into a perfect circle with your hands.
- Avoid bleach or high-heat drying, as these can weaken the cotton fibers and cause the coasters to lose their shape.
Pro Tips & Common Mistakes to Avoid
Maintain consistent tension throughout each round to ensure the coaster lies completely flat. If the center begins to cup, your tension is likely too tight; if it ruffles, your tension is too loose. Always use a stitch marker at the beginning of your rounds to track your stitch count accurately, as continuous spirals make it easy to lose your place. When weaving in your ends, run the needle through the stitches on the back side in at least two different directions to prevent the tail from poking through after several washes. To adjust the size, simply continue the increase sequence (adding 6 stitches per round) until the desired diameter is reached; note that this will require more yarn.
Frequently Asked Questions
Can I use a different yarn weight for this pattern?
Yes, you can use any yarn weight, but your finished coaster size will change. If you use a lighter weight yarn, you may need to add more rounds to reach 4 inches, or conversely, use fewer rounds if using a bulky weight yarn.
Why does my coaster look wavy instead of flat?
A wavy edge typically indicates that you have too many stitches or your tension is too loose. Ensure you are following the increase count exactly and try using a slightly smaller hook to tighten the fabric.
Is this pattern suitable for complete beginners?
This is a great first project. It covers the magic ring, basic single crochet, and fundamental increase techniques, all of which are essential skills for more complex amigurumi and circular projects.
Can I sell the finished coasters?
Yes, you are welcome to sell items made from this pattern. I only ask that you credit the designer and use your own photographs when listing them for sale.
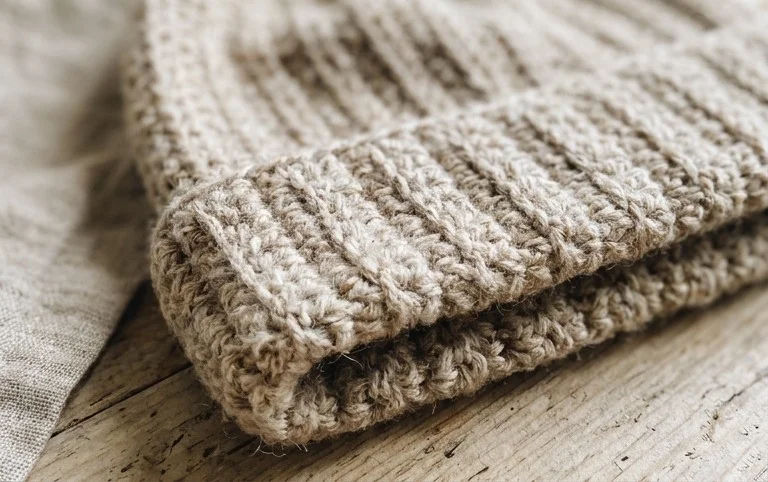
Your finished set of cotton coasters adds a functional, handmade touch to your living room while keeping surfaces clean from water rings. You might experiment with variegated yarn for a playful stripe effect or hold two strands of thinner yarn together if you prefer a thicker, chunkier feel. Sharing your progress on social media helps other makers see how color choices change the final look. Check back often on the blog for more accessible designs that help you practice new techniques with common supplies.