How to Crochet a Magic Circle: Easy Step-by-Step Guide
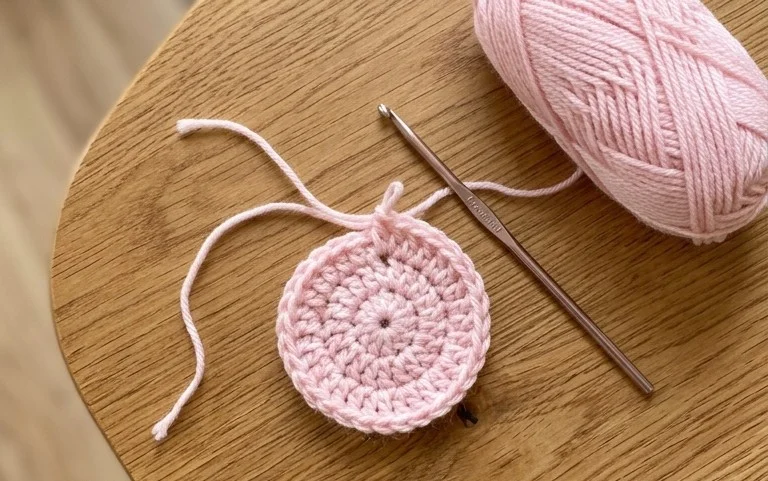
A tight, gap-free center is the mark of a well-crafted project, and starting your rounds with the magic circle technique ensures exactly that. This foundational loop creates a clean, adjustable finish for hats, coasters, and amigurumi toys that cinches perfectly tight without leaving an unsightly hole in the middle of your work. Mastering this method removes the frustration of visible gaps that often occur with traditional chain-based starting rings. You will find that this adjustable loop becomes second nature after only a few attempts, leaving your finished pieces looking professional, tidy, and sturdy for years of frequent handling or heavy use.
Why You’ll Love This Pattern
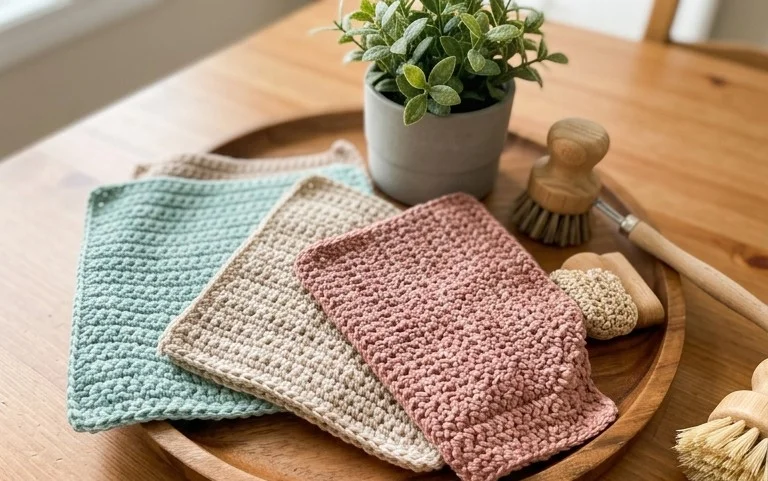
This classic crochet dishcloth works up quickly using the thermal stitch, a dense texture that provides extra scrubbing power for cleaning dishes. The double-layered construction means the cloth is thick and durable, holding more soap and water than standard single-layer patterns. Because it uses a simple repeating stitch, it is an ideal project for practicing tension control without needing to track complex row changes. The finished cloth fits comfortably in the palm of your hand, making it ergonomic for everyday use in the kitchen.
I managed to finish three of these over the weekend. The texture is much thicker than my old store-bought cloths, and the cotton yarn holds up perfectly in the wash.
— Sarah, home crafter
Pattern Overview & Skill Level
- Skill Level: Beginner
- Approximate Time: 1–2 hours
- Construction: Worked in flat rows using the thermal stitch, creating a double-thick fabric
- Finished Dimensions & Sizing: 7 inches by 7 inches
Materials & Supplies Needed
- Yarn: Worsted weight (#4) 100% cotton yarn, approximately 75 yards per cloth. Cotton is essential for heat resistance and absorbency.
- Hook Size: 5.0 mm (H-8) crochet hook.
- Notions needed: Yarn needle for weaving ends, scissors, and an optional stitch marker to keep track of the first stitch of each row.
- Safe yarn substitutions: You may use a cotton-acrylic blend, but keep in mind that pure cotton is significantly more absorbent for cleaning tasks. Using a lighter weight yarn will result in a smaller, thinner cloth unless you increase your starting chain count.
Stitch Guide & Abbreviations (US Terms)
- ch = chain
- sc = single crochet
- st/sts = stitch/stitches
- BLO = back loop only
- Thermal Sc = A technique where you insert your hook into the back loop of the current row and the corresponding front loop of the row below to join them together.
Step-by-Step Pattern Instructions
Base Foundation
The foundation of this dishcloth creates the initial thickness required for the thermal stitch.
- Foundation Row: Ch 26.
- Row 1: Sc in the second ch from the hook and in each ch across. (25 sts)
- Row 2: Ch 1, turn. Sc in the BLO of each st across. (25 sts)
Main Body
From this point forward, you will work the thermal stitch by inserting your hook into the back loop of the current row and the front loop of the row two rows below.
- Row 3: Ch 1, turn. Insert hook into the back loop of the first stitch and the front loop of the stitch from Row 1 directly below it. Yo, pull up a loop, yo, pull through both loops. Repeat across the row. (25 sts)
- Rows 4–30: Repeat Row 3 until the piece reaches a square shape or your desired length. Always ensure you are catching the loop from the row immediately preceding the previous row to maintain the double-thickness.
Finishing
Once you reach the final row, ch 1 and sl st across the top edge to create a clean, uniform border. Cut the yarn, leaving a 6-inch tail. Pull the tail through the final loop and use a yarn needle to weave the end securely into the fabric to prevent unraveling during washing.
Care & Washing Instructions
- Machine wash in warm water on a gentle cycle to remove oils and food residue.
- Lay flat on a clean towel to air dry, which helps the cotton fibers retain their shape and prevents shrinking.
- Avoid using heavy fabric softeners, as these leave a coating on the cotton that reduces the cloth’s natural ability to absorb water.
Pro Tips & Common Mistakes to Avoid
- Maintain consistent tension: Because the thermal stitch is dense, pulling your loops too tight will make it difficult to insert your hook into the lower rows. Keep your working yarn slightly loose.
- Use a stitch marker: Place a marker in the first stitch of every row. It is easy to accidentally drop the first or last stitch of a row, which will cause your dishcloth to lose its square shape.
- Weave in ends securely: Since this item undergoes significant friction during scrubbing, weave your yarn tails back and forth through at least three different directions within the fabric to lock them in place.
- Adjusting size: You can increase or decrease the width by adding or subtracting chains in the foundation row. Keep in mind that a larger cloth will require more yardage, so ensure you have enough yarn before starting a larger version.
Frequently Asked Questions
Can I use synthetic yarn for this project?
While you can, synthetic yarns like acrylic do not absorb water well and may melt if they come into contact with a hot pan. Stick to 100% cotton or a cotton-linen blend for the best results in the kitchen.
Why is my dishcloth curling at the edges?
Curling usually happens if your tension is too tight or if you have skipped stitches at the ends of your rows. Ensure you are working into the final stitch of every row to maintain straight edges.
Is this pattern suitable for someone who has only done basic chains?
Yes, this is an excellent first project. While the thermal stitch is slightly different than a standard single crochet, it uses the same basic motion. You will get comfortable with the rhythm quickly.
Am I allowed to sell the dishcloths I make from this pattern?
You are welcome to sell items you create using this pattern. I only ask that you credit the pattern design to this site when listing your items for sale.
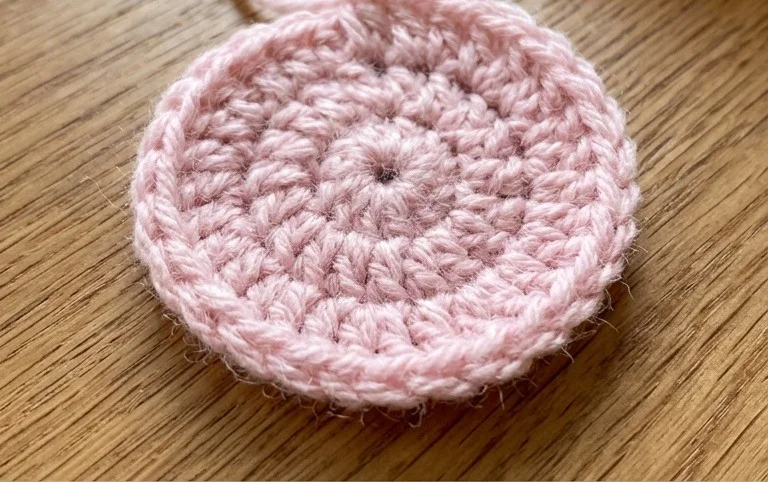
Finishing a project with this secure center provides a neat look that stays intact even after repeated washing or stretching. You might experiment with variegated cotton yarns to create a playful center point or increase the number of starting stitches to craft larger circular rugs and trivets. Sharing photos of your completed projects helps others see how your tension improves with every round you practice. Browse through the rest of the collection to find more foundational tutorials and simple home decor items that build on these basic loop skills.