Easy Ring Stitch Beanie: Free Beginner Crochet Pattern
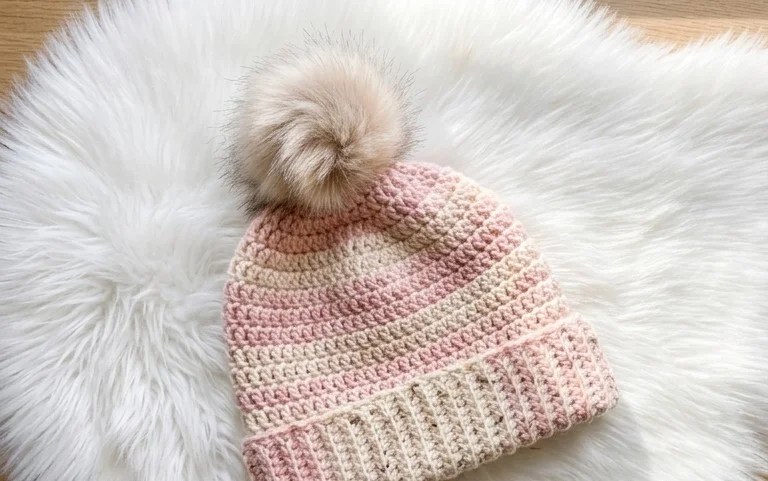
This ring stitch beanie creates a soft, plush texture that keeps its shape through every wash and wear, making it a reliable staple for your winter wardrobe. You will love how the rounds grow quickly under your hook, turning a simple ball of cotton yarn into a structured, cozy hat in just a few hours. Beginners find this project especially rewarding because it relies on a repetitive, meditative stitch pattern that builds confidence without requiring complex shaping or tricky color changes. By mastering the continuous round technique, you will gain a useful skill that applies to many other projects.
Why You’ll Love This Pattern
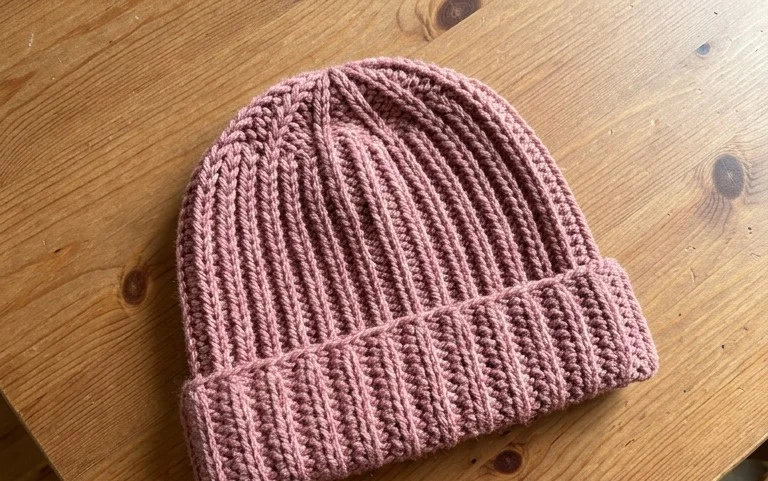
The Classic Crochet Bucket Hat relies on a simple, repeating stitch pattern that builds quickly using basic construction. This project is ideal for using up leftover yarn from larger blankets or sweaters because it requires less than one full skein of medium-weight yarn. You can work it up in an afternoon, making it a reliable choice for last-minute gifts. The resulting fabric is sturdy enough to hold its shape while remaining soft enough to fold into a bag or pocket.
I finished this hat in one evening while watching a movie. The instructions were easy to follow and the size was perfect on the first try.
— Sarah, hobbyist crocheter
Pattern Overview & Skill Level
- Skill Level: Beginner
- Approximate Time: 3 to 4 hours
- Construction: Worked in continuous rounds from the center of the crown outward to the brim.
- Finished Dimensions: Fits an average adult head circumference of 22 to 23 inches.
Materials & Supplies Needed
- Yarn: Worsted weight #4 cotton or cotton-blend yarn, approximately 180 yards. Cotton is recommended for structure and breathability.
- Hook Size: 5.0 mm (US H-8) for the main body; use a 4.5 mm (US G-7) hook if you prefer a tighter, stiffer brim.
- Notions: Stitch marker to keep track of the start of each round, tapestry needle for weaving in ends, and a pair of sharp scissors.
- Yarn Substitutions: Acrylic yarn can be used for a softer, more flexible hat, though it will have less structure than cotton. Avoid bulky wools as they will result in a hat that is too heavy and warm for typical bucket hat wear.
Stitch Guide & Abbreviations (US Terms)
- MR = Magic Ring
- ch = chain
- sc = single crochet
- inc = increase (work 2 sc into the same stitch)
- dec = decrease (single crochet two stitches together)
- sl st = slip stitch
- st/sts = stitch/stitches
- BLO = back loop only: insert hook only through the rear strand of the stitch loop
Step-by-Step Pattern Instructions
Crown
The crown is worked in continuous rounds. Place a stitch marker at the start of each round and move it up as you go.
- Rnd 1: Start 6 sc in a magic ring (6 sts).
- Rnd 2: Inc in each st around (12 sts).
- Rnd 3: [Sc 1, inc in next st] 6 times (18 sts).
- Rnd 4: [Sc 2, inc in next st] 6 times (24 sts).
- Rnd 5: [Sc 3, inc in next st] 6 times (30 sts).
- Rnd 6: [Sc 4, inc in next st] 6 times (36 sts).
- Rnd 7: [Sc 5, inc in next st] 6 times (42 sts).
- Rnd 8: [Sc 6, inc in next st] 6 times (48 sts).
- Rnd 9: [Sc 7, inc in next st] 6 times (54 sts).
- Rnd 10: [Sc 8, inc in next st] 6 times (60 sts).
Body
This section transitions from the flat crown to the vertical sides of the hat.
- Rnd 11: Work 1 sc in each st around in BLO (60 sts).
- Rnds 12-25: Work 1 sc in each st around (60 sts).
Brim
- Rnd 26: [Sc 9, inc in next st] 6 times (66 sts).
- Rnd 27: Sc in each st around (66 sts).
- Rnd 28: [Sc 10, inc in next st] 6 times (72 sts).
- Rnd 29: Sc in each st around (72 sts).
- Rnd 30: [Sc 11, inc in next st] 6 times (78 sts).
- Rnd 31: Sc in each st around (78 sts).
- Finishing: Sl st into the next st to smooth the edge. Fasten off and weave in all yarn tails securely.
Care & Washing Instructions
- Hand wash in cool water using a gentle detergent specifically formulated for cotton fibers.
- Gently press out excess water with a towel, then reshape the brim and crown on a flat surface to air dry.
- Do not tumble dry, as high heat can shrink the cotton fibers and cause the hat to lose its intended shape.
Pro Tips & Common Mistakes to Avoid
- Consistent tension is vital for a hat. If your stitches look uneven, switch to a smaller hook size to ensure the fabric remains dense enough to block out the sun.
- Always use a stitch marker at the start of each round. Because the pattern uses continuous rounds, it is very easy to lose your place without a physical marker.
- Weave in your yarn ends by traveling under the stitches on the inside of the hat for at least one inch. This prevents ends from poking out or unraveling after multiple wears.
- If you need to resize the hat, add or subtract rounds from the crown section. Adding one round to the crown increases the diameter by approximately 0.5 inches; be sure to adjust the body length accordingly if you prefer a looser fit.
Frequently Asked Questions
Can I use a different yarn weight for this pattern?
Using a different yarn weight will significantly change the finished size. If you use a lighter weight, the hat will be smaller; a heavier weight will result in a much larger, stiffer hat.
Is this pattern suitable for someone who has only done squares?
Yes, this is an ideal transition project. It introduces circular construction in the round, which is a foundational skill for many accessory and toy patterns.
How do I adjust the brim if I want it wider?
You can extend the brim by continuing the increase pattern in additional rounds. Just maintain the sequence of increasing every 12th, 13th, or 14th stitch in subsequent rounds to keep the brim flat.
Can I sell the hats I make from this pattern?
You are welcome to sell finished items made from this pattern, provided you credit the designer. Please do not sell or redistribute the written instructions themselves.
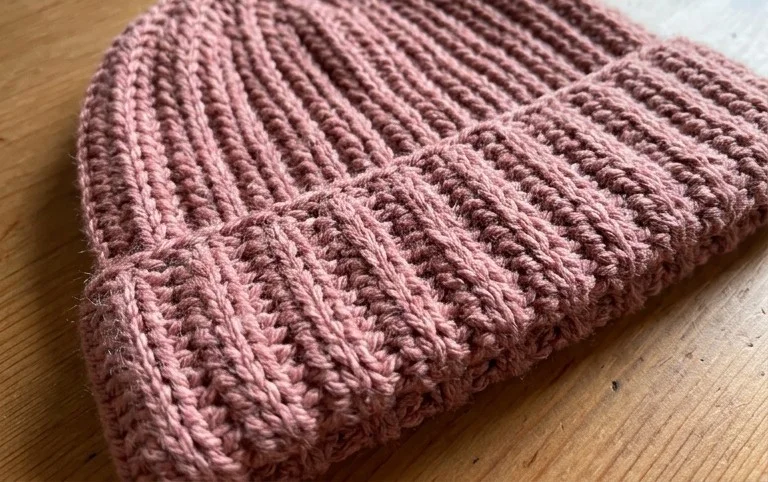
Your finished hat has a beautiful, dense weight that provides real warmth on chilly mornings. Consider working yours in a bold, mustard yellow for a pop of color or adding a faux fur pom-pom to the top for a playful finish. Sharing your progress on social media helps others find their next project, so tag your photos when you finish. Check back on the blog for more accessible designs and free guides that build on the techniques you practiced here today.