Easy Colorful Crochet Scarf: Free Beginner Pattern
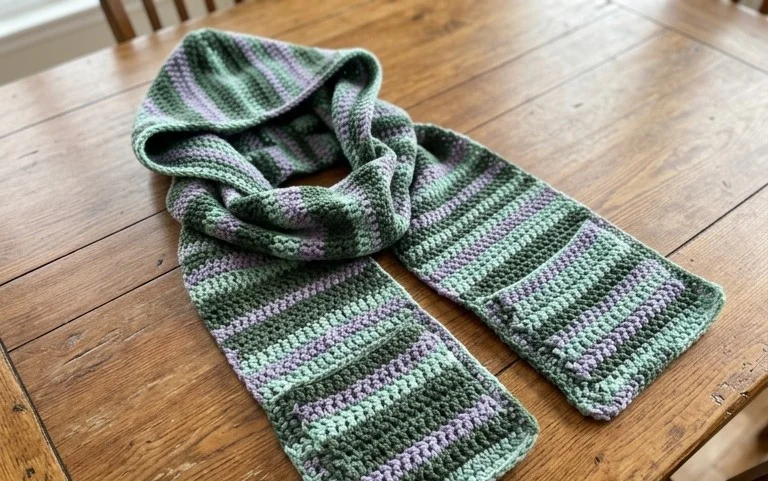
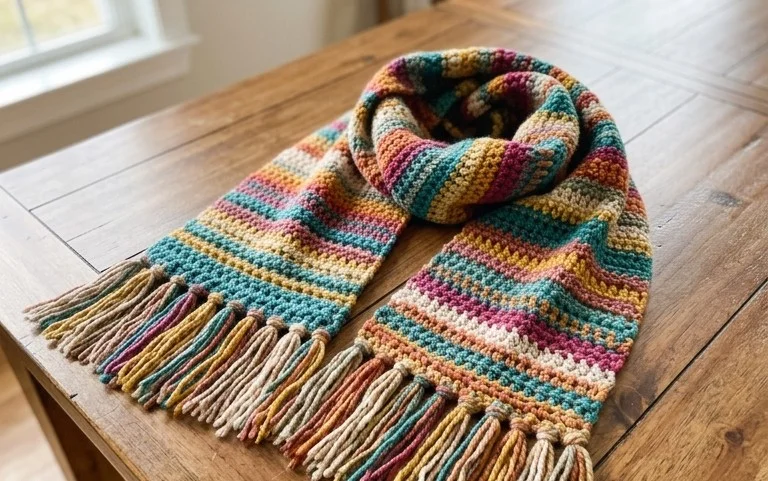
A thick, woolly scarf draped over your shoulders provides immediate warmth during those first chilly mornings of October. These colorful accessories rely on simple double crochet stitches to create a dense, squishy fabric that traps body heat effectively. Beginners find these projects approachable because they require only basic knowledge of how to hold a hook and maintain consistent yarn tension. Whether you are creating a thoughtful handmade gift or refreshing your own cold-weather wardrobe, working through these rows feels like a productive way to spend a quiet weekend afternoon indoors. You will learn to incorporate multiple yarn colors smoothly.
Why You’ll Love This Pattern
The Classic Crochet Granny Square is the fundamental building block of the craft, relying on simple clusters of double crochet stitches that form a radiating geometric pattern. You will appreciate this project for its meditative, repetitive rhythm that makes it ideal for working on while listening to podcasts or relaxing in the evening. Because each square is a self-contained unit, it is a highly portable project that fits easily into a small bag for crafting on the go. The modular nature of the design means you can start with a single coaster-sized piece and continue until you have enough material to construct a full-sized throw blanket or a decorative tote bag. Using small amounts of leftover yarn allows you to play with color combinations without committing to a single expensive skein, making it a perfect stash-buster.
This pattern is exactly what I needed to learn how to keep my tension consistent, and the final squares lay perfectly flat without any curling.
— Sarah, beginner crocheter
Pattern Overview & Skill Level
- Skill Level: Beginner
- Approximate Time: 30–45 minutes per square
- Construction: Working in continuous rounds starting from a center point, with each round adding four corner clusters to maintain a square shape.
- Finished Dimensions: Approximately 5 inches by 5 inches using medium weight yarn and a 5.0 mm hook.
Materials & Supplies Needed
- Yarn: Worsted weight (#4), 100% acrylic or wool blend, approximately 20 yards per square.
- Hook Size: 5.0 mm (H-8).
- Notions: Tapestry needle for weaving in ends, sharp scissors.
- Yarn Substitutions: You can use DK weight yarn for a smaller, tighter square, or bulky yarn for a larger, quicker square. Adjust your hook size accordingly; for example, use a 4.0 mm hook for DK or a 6.0 mm hook for bulky yarn to ensure the stitches remain dense enough to hold the square’s shape.
Stitch Guide & Abbreviations (US Terms)
- ch = chain
- dc = double crochet
- sl st = slip stitch
- sp = space
- cluster = a group of 3 dc stitches worked into the same chain space
- corner = (3 dc, ch 2, 3 dc) worked into the same space to create a 90-degree turn
Step-by-Step Pattern Instructions
Granny Square Body
- Rnd 1: Start with a magic ring or ch 4 and sl st to the first chain to form a circle. Ch 3 (counts as first dc), work 2 dc into the ring, ch 2. Work 3 dc, ch 2, 3 dc, ch 2, 3 dc, ch 2 into the ring. Sl st to the top of the beginning ch 3. (12 dc total, 4 corner spaces)
- Rnd 2: Sl st into the next dc and into the first corner ch-2 sp. Ch 3, 2 dc, ch 2, 3 dc in the same corner sp. Ch 1, skip 3 dc, work (3 dc, ch 2, 3 dc) into the next ch-2 corner sp. Repeat from * to * two more times. Ch 1, sl st to the top of the beginning ch 3. (24 dc total, 4 corners, 4 side spaces)
- Rnd 3: Sl st into the next dc and into the first corner ch-2 sp. Ch 3, 2 dc, ch 2, 3 dc in the same corner sp. Ch 1, 3 dc in the next ch-1 side sp, ch 1, work (3 dc, ch 2, 3 dc) in the next corner sp. Repeat from * to * two more times, ch 1, 3 dc in the last side sp, ch 1, sl st to the top of the beginning ch 3. (36 dc total, 4 corners, 8 side spaces)
- Rnd 4: Continue in established pattern, working (3 dc, ch 2, 3 dc) in each corner and 3 dc in each side ch-1 space. Each side will increase by one 3-dc cluster per round. (48 dc total)
Finishing
Once you reach your desired square size, cut the yarn, leaving a 6-inch tail. Pull the tail through the final loop and use a tapestry needle to weave the yarn end through the back of the clusters to secure it. Trim any excess yarn close to the fabric.
Care & Washing Instructions
- Machine wash in cold water on a gentle cycle using a mild detergent.
- Lay the square flat on a clean towel to air dry, ensuring the corners are pulled into shape while damp.
- Avoid wringing or twisting the piece, as this can stretch the stitches and distort the square.
Pro Tips & Common Mistakes to Avoid
- Maintaining Tension: Keep your yarn tension consistent throughout each round; if your stitches feel too tight, try moving up one hook size to ensure the fabric remains soft and flexible.
- Counting Stitches: Use a stitch marker in the top of your starting chain-3 to easily identify where to join your round, which prevents accidentally adding extra stitches or losing your place.
- Weaving Ends: Hide your yarn tails by running the needle through the center of the double crochet stitches on the back side of the work, rather than along the edges, to keep the seams invisible.
- Size Adjustments: To increase the size of the square, simply continue working additional rounds following the pattern logic: work one 3-dc cluster into every ch-1 side space and (3 dc, ch 2, 3 dc) into every corner ch-2 space.
Frequently Asked Questions
Can I use different colors for each round?
Yes, changing colors is a common way to personalize your squares. Simply fasten off at the end of each round and join your new color into any corner space to start the next round.
Why is my square curling instead of laying flat?
Curling usually happens if your tension is too tight. Check that you are chain-1 between side clusters; omitting these chains can cause the fabric to pull inward and cup.
How many squares do I need for a full blanket?
A standard throw blanket usually requires between 30 and 48 squares, depending on the desired dimensions and whether you choose to add a border around the finished assembly.
Can I sell the finished squares I make?
You are welcome to sell items made from this pattern, provided you credit the design. Please do not redistribute the pattern text or photos as your own work.
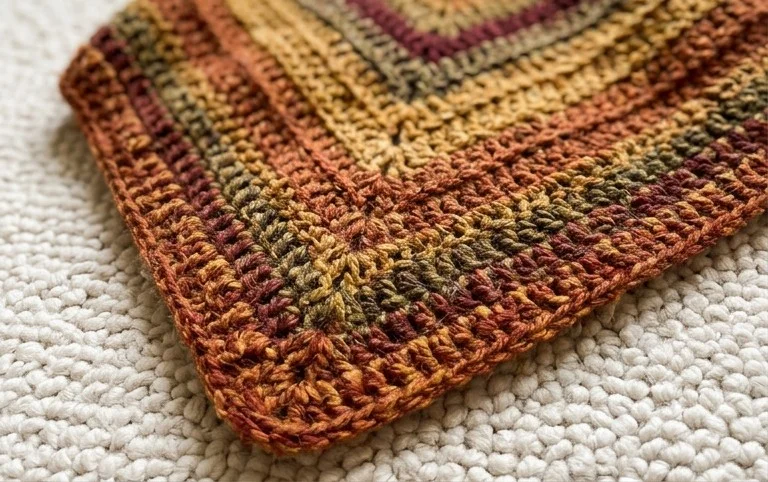
Your finished scarf will feel soft and heavy around your neck, providing a cozy layer against the biting wind of late winter. Try swapping the traditional wool for a chunky cotton blend if you want a lighter, more breathable wrap for transitional seasons. Upload a photo of your finished piece to your favorite social media site to show off your custom color choices to other makers. You can find more free patterns and seasonal project ideas by browsing through the archives on our main blog page here.