A Sturdy Single Crochet Cotton Dishcloth for Daily Use
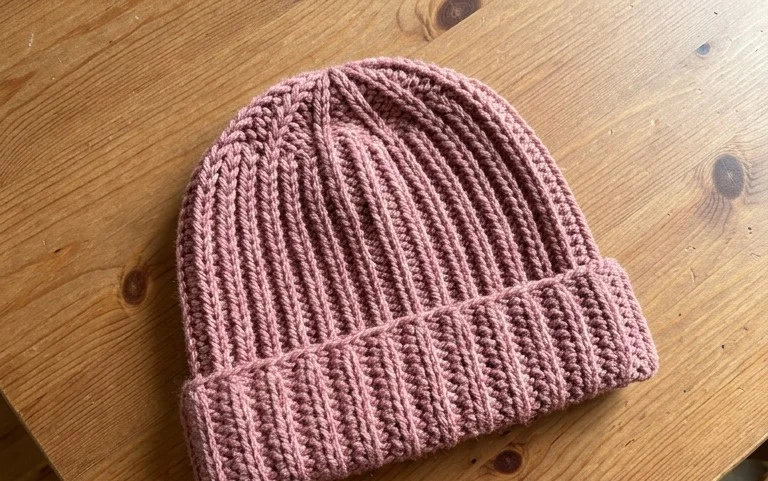
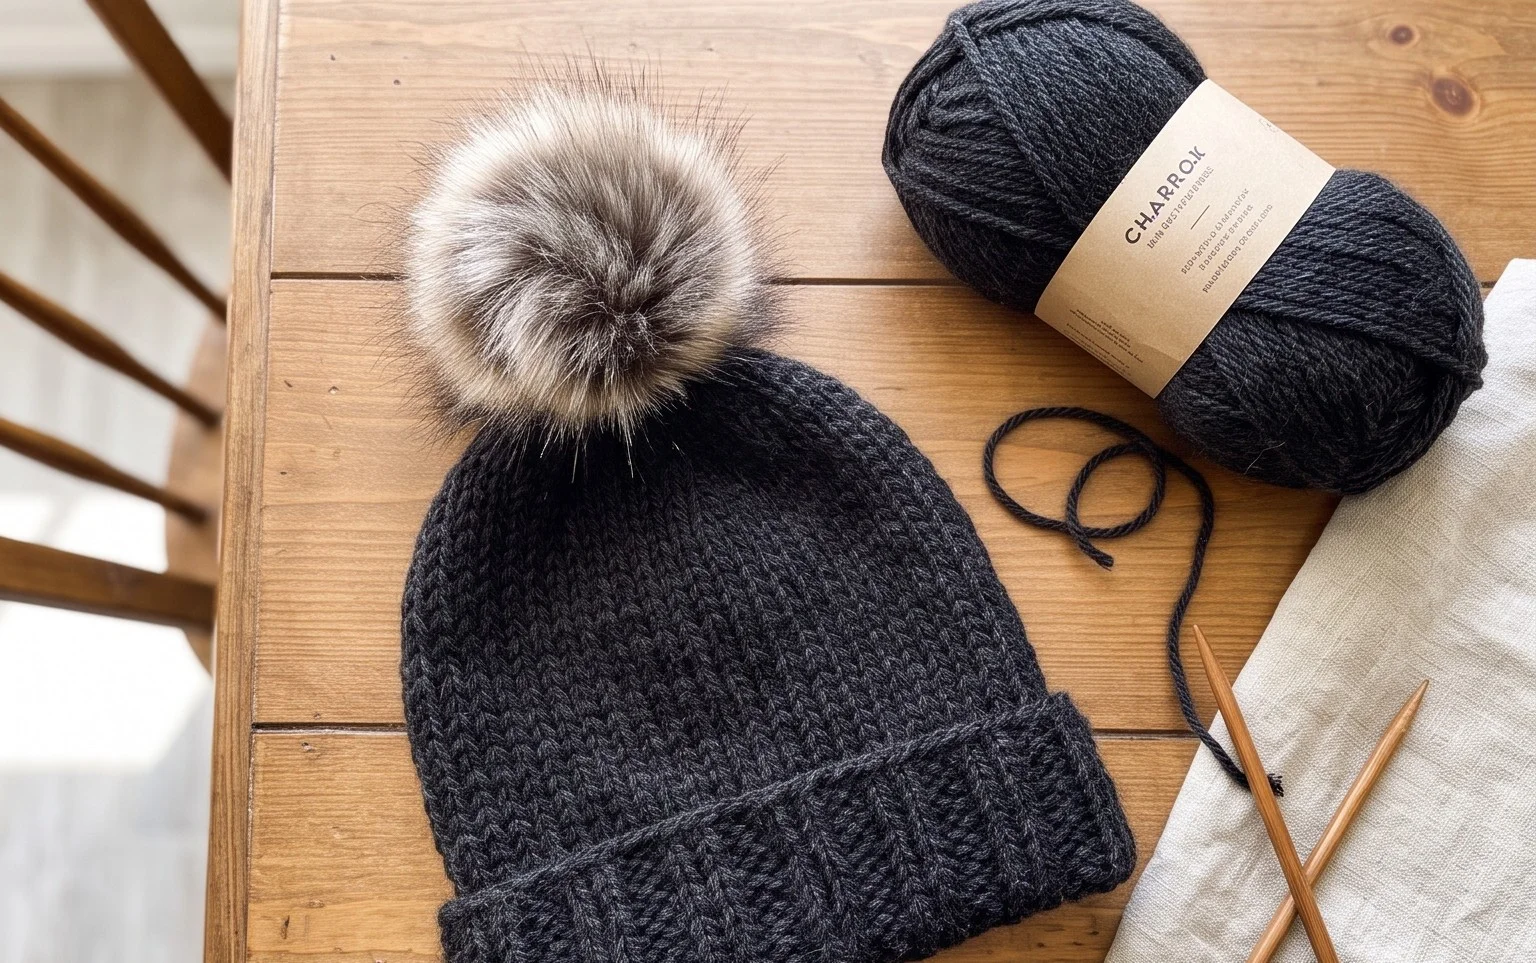
Soft yarn and a stretchy brim give the Maple Beanie a cozy feel that works well on chilly walks and slow weekends. Its simple shape sits close to the head, and the textured fabric adds interest without making the finished hat feel fussy. This project suits crocheters who are ready to practice consistent stitches, as well as gift makers who want a useful handmade present in a favorite color. You’ll learn how the beanie is shaped and how its stitch pattern builds a warm, comfortable fabric. Take your time checking the fit as you work, since a small change in tension can affect how snugly the brim sits. The finished hat is satisfying to make because each section has a clear purpose, from the stretchy edge to the crown that brings the shape together.
Why Crocheters Love It
A square cotton dishcloth is useful at the sink, quick to work in simple rows, and easy to wash after everyday use. This version uses single crochet throughout, so you can focus on keeping the edges straight rather than learning a new stitch. One ball of worsted cotton is usually enough, and the finished cloth makes a practical handmade gift.
The dense fabric holds up to regular scrubbing, while the plain texture gives you a clear view of each stitch. It is a good first project for practicing even tension and counting rows. The finished square also works as a small trivet, though it should not be used with very hot cookware unless the yarn label confirms that the fiber is suitable.
The rows were easy to count, and the cotton cloth has a nice firm texture for washing dishes.
— Maya, beginning crocheter
Pattern Overview & Skill Level
- Skill Level: Beginner. You need to know how to chain and make single crochet.
- Approximate Time: About 2–3 hours, depending on your pace and how often you pause to count.
- Construction: Work a foundation chain, then crochet flat rows of single crochet. Turn at the end of each row; do not join.
- Finished Dimensions & Sizing: Approximately 7.5 × 7.5 inches (19 × 19 cm) after washing and drying flat. Measurements vary with tension.
The stitch counts below assume a starting chain of 31, with the first single crochet worked into the second chain from the hook. That leaves 30 stitches across each row.
Materials & Supplies Needed
- Yarn: About 90–110 yd (82–101 m) of worsted-weight cotton yarn, category #4. Choose one color, or use two colors and join the second at a row edge.
- Hook: 5.0 mm / H-8 crochet hook. If your stitches are loose, try 4.5 mm / 7; if they are very tight, try 5.5 mm / I-9.
- Notions: Tapestry needle for weaving in ends, scissors, and a ruler or tape measure. A stitch marker can help mark the first stitch of a row.
- Substitutions: Cotton or a cotton blend is a practical choice for a washable cloth. A cotton-linen blend may feel firmer and soften with use. Avoid acrylic for a cloth intended for hot pans, and check the yarn label before using any substitute. A heavier yarn or larger hook will make a larger, looser cloth; a finer yarn or smaller hook will make a smaller, denser one.
For a useful gauge check, work a small swatch in single crochet. Aim for about 16 stitches and 18 rows over 4 inches (10 cm), after washing and drying it as you plan to care for the finished cloth.
Stitch Guide & Abbreviations (US Terms)
- ch: Chain. Yarn over and pull through the loop on the hook.
- sc: Single crochet. Insert the hook into the stitch, yarn over and pull up a loop, yarn over and pull through both loops.
- st(s): Stitch or stitches.
- rep: Repeat the stated instruction.
- turn: Rotate the work so the next row is crocheted back across the previous row.
- RS: Right side, the face you choose to show.
- WS: Wrong side, the opposite face.
The turning chain does not count as a stitch in this pattern. Work the first single crochet into the first stitch at the base of the chain, then make the final single crochet in the last stitch of the row.
Step-by-Step Pattern Instructions
Dishcloth
- Foundation: Ch 31. The foundation chain does not count as a row. (30 working chains after the first chain is skipped)
- Row 1: Sc in the second ch from the hook and in each ch across. Turn. (30 sts)
- Row 2: Ch 1, sc in each st across. Turn. (30 sts)
- Rows 3–30: Rep Row 2 for 28 more rows. (30 sts per row)
Measure the cloth before finishing. If it is slightly longer or shorter than 7.5 inches, that is fine; consistent stitch counts matter more than matching the sample measurement exactly. To make the cloth closer to square, work additional or fewer repeats of Row 2, keeping 30 stitches in every row.
Finishing
- After Row 30, fasten off, leaving a tail long enough to weave in securely.
- Thread the tail onto a tapestry needle. Weave it through several stitches along the edge, change direction, and pass through a few more stitches so it is less likely to work loose during washing.
- Weave in the starting tail in the same way. Check that both sides lie flat, then wash and dry the cloth according to the yarn label.
This pattern has no sewn seam or joined rounds. If the side edges look uneven, count the stitches at the beginning and end of each row; missing the first or last stitch is the most common cause of a slanted square.
Care & Washing Instructions
- Wash cotton in warm water, up to 40°C (104°F), unless the yarn label gives a lower temperature; use a gentle cycle or hand wash.
- Dry flat for the neatest shape, or tumble dry only if the yarn label allows it.
- Reshape the damp cloth into a square and smooth the edges; blocking is optional for this practical item.
Pro Tips & Common Mistakes to Avoid
- Keep your chain and single crochet tension relaxed and even. If the foundation chain is much tighter than the rows, the bottom edge will pull inward; use a larger hook just for the chain if needed.
- Count 30 stitches at the end of every row. Place a marker in the first stitch if you tend to work into the turning chain by mistake; the turning chain is not included in the count.
- Weave in each end in more than one direction. A short tail tucked through only one row can loosen after repeated washing.
- For a larger cloth, add stitches to the starting chain and work more rows to match its width. Each added chain creates one additional stitch, and the larger cloth uses more yarn; make a small swatch first if you need a specific finished size.
Frequently Asked Questions
Can I use a different yarn fiber?
Yes. Cotton and cotton blends are suited to a washable dishcloth. Bamboo blends can feel softer and drape more, while acrylic is less suited to handling hot items. Different fibers and yarn thicknesses change the cloth’s feel and final dimensions, so check the label and make a swatch.
How can I make the dishcloth larger or smaller?
For a wider cloth, add chains to the foundation, remembering to skip the first chain when making Row 1. For a taller cloth, work more rows. Keep the shape square by making the row count roughly match the number of stitches across, and expect to use more yarn for a larger cloth.
Is this a suitable first crochet project?
Yes. The pattern uses only chains and single crochet, with no increases, decreases, or joining. Practice counting the 30 stitches across each row, especially the first and last stitches, to keep the sides straight.
May I sell dishcloths made from this pattern?
Check the designer’s terms before selling finished items, and follow any requirements for pattern credit. If you sell the cloth, give buyers accurate fiber and washing information from the yarn label.
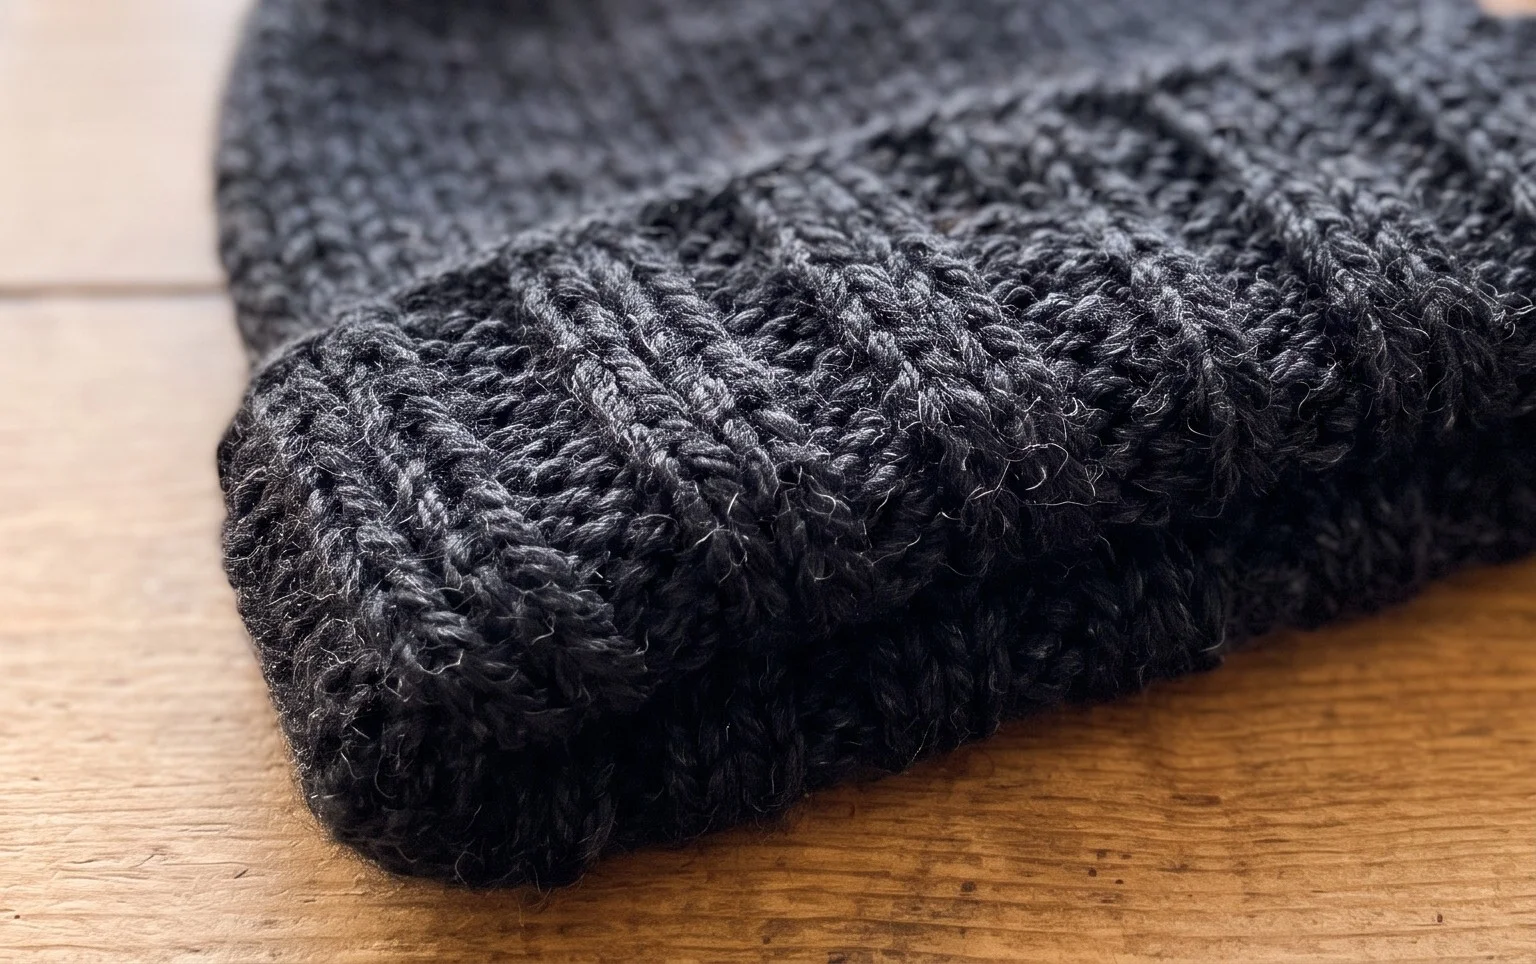
A finished Maple Beanie has a cozy texture and a comfortable shape that makes it a useful addition to a winter wardrobe. Try it in a soft heathered yarn for a subtle look, or choose a bright solid shade that stands out on cold days. If you make one, share a photo on Pinterest or your favorite social media platform, and mention any color or fit changes you made. Your notes may help another crocheter choose yarn or adjust their own hat. When you’re ready for another project, explore more free patterns on the blog for ideas to make with the yarn you have on hand.