Easy Snowman Crochet Patterns: Free Step-by-Step Guide
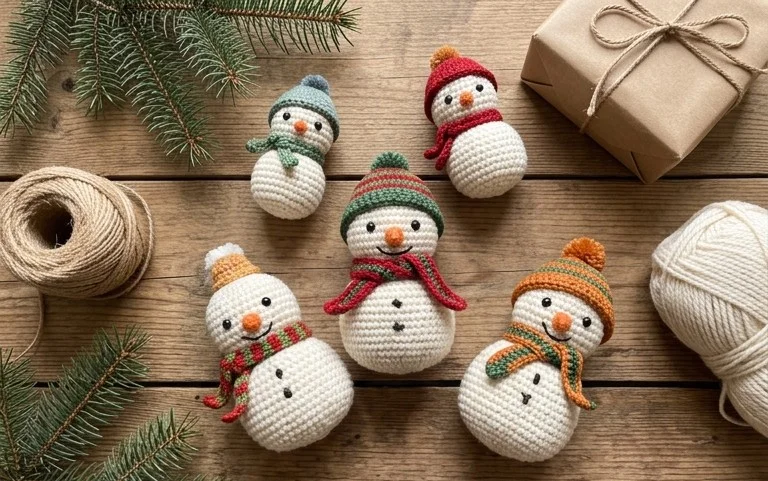
Soft white yarn gathered into round, squishy spheres creates the base for these winter characters that sit firmly on any mantle or shelf. You will find that working in continuous rounds helps maintain the structure of these figures, ensuring they hold their shape without drooping over time. Beginners benefit from the repetitive nature of single crochet stitches, while more experienced makers can experiment with small scarves or hats to add personality. These winter projects offer a quiet way to spend an afternoon indoors, resulting in handmade items that bring character to your holiday decorating setup every single year.
Why Crocheters Love It
The Classic Crochet Granny Square is the fundamental building block for countless blankets, cardigans, and home decor items. This pattern uses a traditional construction method that works in joined rounds, creating a lightweight yet durable square that shows off color transitions beautifully. You can complete a single square in less than thirty minutes, making it an ideal choice for using up small amounts of leftover yarn from larger projects. Its repetitive nature provides a meditative experience that helps beginners master tension and stitch placement without the pressure of complex shaping.
I finally learned to crochet using this specific granny square method. The instructions were so clear that I managed to make an entire lap-sized blanket in just two weeks of evening practice.
— Sarah, beginner crafter
Pattern Overview & Skill Level
- Skill Level: Beginner
- Approximate Time: 20-30 minutes per square
- Construction: Joined rounds worked from the center outward
- Finished Dimensions: Approximately 5 inches by 5 inches using worsted weight yarn
Materials & Supplies Needed
- Yarn: Worsted weight (#4), 100% acrylic or wool blend, approximately 15-20 yards per square.
- Hook Size: 5.0 mm (US H-8).
- Notions: Tapestry needle for weaving in ends, scissors, and a measuring tape.
- Yarn Substitutions: You can use DK weight yarn with a 4.0 mm hook for a smaller square or bulky weight yarn with a 6.0 mm hook for a larger square. Note that changing yarn weight will significantly alter the final dimensions and drape.
Stitch Guide & Abbreviations (US Terms)
- ch: chain
- sl st: slip stitch
- dc: double crochet
- dc-cluster: 3 dc worked into the same space
- sp: space
- st: stitch
Step-by-Step Pattern Instructions
The granny square is worked in continuous rounds, with each round joined to the first stitch of that round with a slip stitch. You will turn your work after each round to keep the square from twisting.
Granny Square Body
- Round 1: Start with a magic ring or chain 4 and join with a sl st to form a ring. Ch 3 (counts as first dc), work 2 dc into the ring, ch 2. Work [3 dc into ring, ch 2] 3 times. Join with a sl st to the top of the beginning ch-3. (12 dc, 4 ch-2 spaces)
- Round 2: Sl st into the next dc and into the first ch-2 corner space. Ch 3, 2 dc, ch 2, 3 dc all into the same corner sp. *Ch 1, skip 3 dc, (3 dc, ch 2, 3 dc) in next ch-2 corner sp. Repeat from * 2 more times. Ch 1, join with a sl st to the top of the beginning ch-3. (24 dc, 4 ch-1 spaces, 4 ch-2 spaces)
- Round 3: Sl st into the next dc and into the first ch-2 corner sp. Ch 3, 2 dc, ch 2, 3 dc in same corner sp. *Ch 1, 3 dc in next ch-1 sp, ch 1, (3 dc, ch 2, 3 dc) in next corner sp. Repeat from * 2 more times. Ch 1, 3 dc in last ch-1 sp, ch 1, join with a sl st to the top of the beginning ch-3. (36 dc, 8 ch-1 spaces, 4 ch-2 spaces)
- Round 4: Continue in established pattern, working (3 dc, ch 2, 3 dc) in every corner and 3 dc in every ch-1 space along the sides, with ch-1 between each cluster. Join with a sl st to the top of the beginning ch-3 and fasten off. (48 dc, 12 ch-1 spaces, 4 ch-2 spaces)
Care & Washing Instructions
- Machine wash in cold water on a delicate cycle using a mild detergent.
- Lay flat on a clean towel away from direct sunlight to dry completely.
- Gently steam or mist with water and pin to a blocking mat to reshape the squares if they appear wavy.
Pro Tips & Common Mistakes to Avoid
- Check your tension every few rounds to ensure your corners remain sharp and do not pull inward.
- Place a locking stitch marker in the first ch-3 of every round so you can easily identify where to join your slip stitch at the end.
- Weave your ends in by running the needle through the back loops of the same color stitches to keep the reverse side looking clean and professional.
- To adjust the size, simply add more rounds using the same increase method: working 3 dc in every side space and (3 dc, ch 2, 3 dc) in every corner space.
Frequently Asked Questions
Can I use cotton yarn instead of acrylic?
Yes, cotton works well for granny squares, though it is heavier and has less stretch than acrylic. Ensure you maintain consistent tension to prevent the square from becoming stiff.
Why is my square not lying flat?
If your square is cupping, you likely have too many stitches; if it is ruffling, you have too few. Verify that you are working exactly 3 dc in each side space and the corner clusters.
Is this pattern suitable for making items to sell?
You are welcome to sell finished items made from this pattern. We suggest including credit to the designer on any product tags or listings.
How do I change colors between rounds?
To change colors, fasten off at the end of a round and join the new yarn in any corner space with a standing dc or a slip stitch, then continue the pattern as normal.
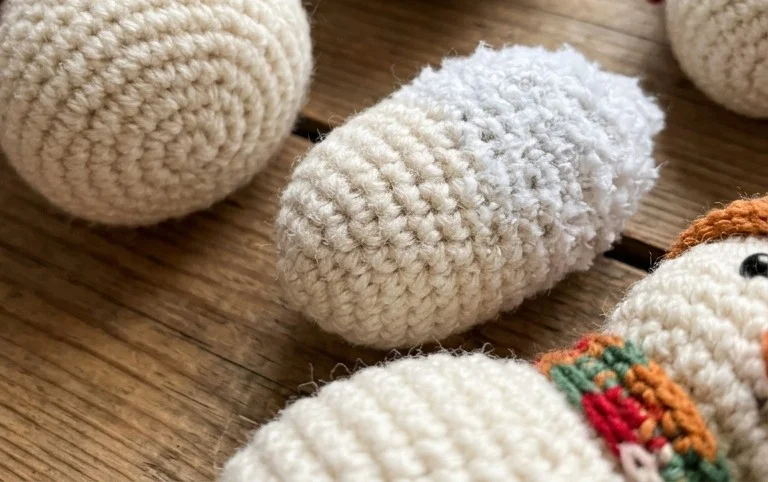
A collection of handmade snowmen brings a distinct warmth to your home during the coldest months of the year. Try using a fuzzy mohair blend if you want a softer, more realistic look for the outer body or switch to a tiny button nose for a playful detail. You can share photos of your completed projects on social media to show how your color choices turned out differently. Feel free to browse through the rest of our pattern library for additional seasonal inspiration and project ideas for your collection.