Hidden Wells Quilt Pattern: Easy Step-by-Step Tutorial
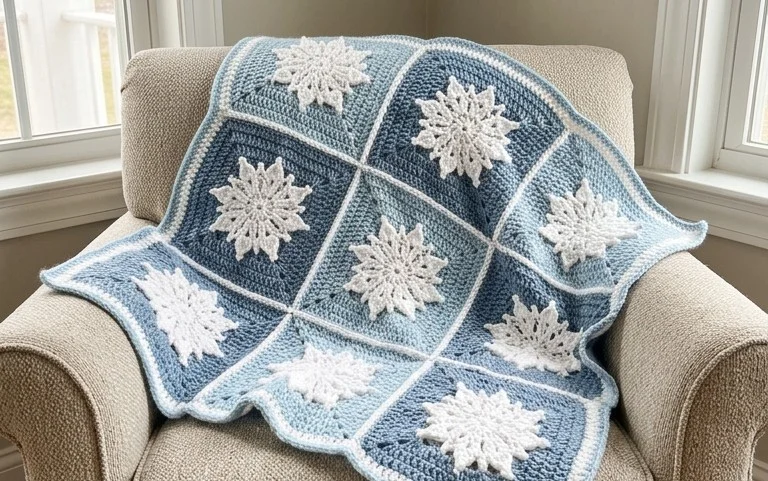
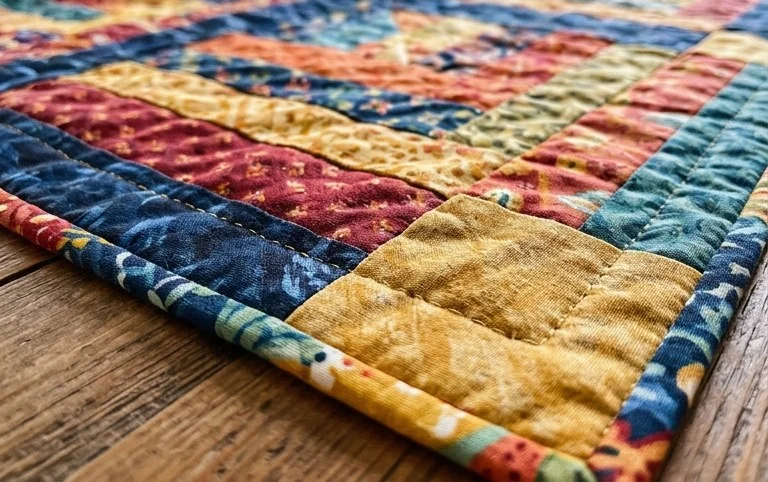
Soft to the touch and visually grounded by deep geometric color changes, these squares look just like vintage fabric blocks stitched by hand. You will find that this construction method creates a substantial weight, making the final piece a warm addition to any living room sofa or a thoughtful gift for a housewarming. Even if you have only ever crocheted a basic chain, the logic here relies on simple double crochet stitches clustered into openings. You will learn the exact sequence for turning your work to ensure the finished layout remains square and tidy without any awkward bulging edges.
Why Crocheters Love It
The Classic Crochet Granny Square is the quintessential building block for fiber artists. It offers a meditative, repetitive rhythm that makes it an ideal project for practicing consistent tension while catching up on podcasts or television. Because each square is worked in individual rounds, it is a highly portable project that fits easily into a small bag for crafting on the go. Beginners find success with this pattern because it introduces the concept of working into chain spaces rather than individual stitches, which simplifies the process significantly. It is also an excellent way to use up leftover yarn scraps from larger garment projects, as you can easily color-block or alternate shades to create a unique aesthetic.
I have tried several different granny square tutorials, but this specific method of joining and turning is the first one that helped my squares stay perfectly flat without curling at the corners.
— Sarah, hobbyist crafter
Pattern Overview & Skill Level
- Skill Level: Beginner
- Approximate Time: 30 to 45 minutes per square
- Construction: Worked in continuous rounds, turning between each round to keep the square balanced
- Finished Dimensions & Sizing: Approximately 5 inches by 5 inches using medium weight yarn and a 5.0 mm hook
Materials & Supplies Needed
- Yarn: Worsted weight (#4) acrylic, cotton, or wool blend. You will need approximately 15 to 20 yards per square.
- Hook Size: 5.0 mm (US H-8)
- Notions: Tapestry needle for weaving in ends, scissors, and optional stitch markers to identify corners.
- Safe yarn substitutions: You may use DK weight (#3) yarn with a 4.0 mm hook for a smaller, more delicate square, or bulky weight (#5) yarn with a 6.0 mm hook for a larger, denser square. Always adjust your hook size to ensure your fabric remains flexible and not too stiff.
Stitch Guide & Abbreviations (US Terms)
- ch = chain
- sl st = slip stitch
- dc = double crochet: Yarn over, insert hook into stitch, yarn over and pull up a loop, yarn over and pull through two loops, yarn over and pull through final two loops.
- st = stitch
- sp = space (refers to the hole created by chains in the previous row)
- cluster = a group of 3 dc stitches worked into the same chain space
Step-by-Step Pattern Instructions
This pattern is worked in rounds. Always join with a slip stitch to the top of the first stitch of the round and turn your work after each join to maintain a square shape.
- Round 1: Ch 4, join with sl st to first ch to form a ring. Ch 3 (counts as first dc), work 2 dc into ring, ch 2, *3 dc into ring, ch 2; repeat from * twice more. Join with sl st to top of beg ch-3. (12 dc, 4 ch-2 spaces)
- Round 2: Ch 3, turn. In the first corner ch-2 sp, work 2 dc, ch 2, 3 dc. *Ch 1, in next ch-2 corner sp work 3 dc, ch 2, 3 dc; repeat from * twice more. Ch 1, join with sl st to top of beg ch-3. (24 dc, 4 ch-2 spaces, 4 ch-1 spaces)
- Round 3: Ch 3, turn. In the ch-1 sp, work 3 dc. *In the next corner ch-2 sp, work 3 dc, ch 2, 3 dc. In the next ch-1 sp, work 3 dc; repeat from * around, ending with 3 dc in the final corner sp, ch 2, join with sl st to top of beg ch-3. (36 dc, 4 ch-2 spaces)
- Round 4: Ch 3, turn. Work 3 dc in the first side space. *In the corner ch-2 sp, work 3 dc, ch 2, 3 dc. Work 3 dc in each side sp across to the next corner; repeat from * around. Join with sl st to top of beg ch-3. (48 dc, 4 ch-2 spaces)
Care & Washing Instructions
- Hand wash your finished items in cool water with a mild wool-safe detergent to preserve the structure and prevent stretching.
- Lay the piece flat on a clean towel and roll it to remove excess moisture; never wring or twist the damp fabric.
- Reshape the square on a flat surface while damp and allow it to air dry completely away from direct sunlight or heat sources.
Pro Tips & Common Mistakes to Avoid
- Consistent Tension: If your square begins to ruffle or wave, your hook size may be too large for your yarn weight. If the square cups inward, your stitches are likely too tight.
- Marking Corners: Use a locking stitch marker in each of the four corner chain-2 spaces during the first few rounds to easily identify where to work your increases.
- Weaving Ends: Secure your yarn tails by weaving them in at least three different directions through the back loops of the stitches to ensure they do not pull out after washing.
- Adjusting Size: You can continue adding rounds to this square indefinitely to reach your desired size. Note that each additional round increases the total stitch count by 12 dc stitches and requires approximately 10 to 12 additional yards of yarn.
Frequently Asked Questions
Can I use a different weight yarn for this pattern?
Yes, you can use any yarn weight. Just ensure the hook size matches the recommendation on the yarn label to maintain a workable fabric. Thicker yarn will result in a larger square, while thinner yarn will result in a smaller one.
Why is my square not laying flat?
If your square is curling, it is often due to working too many stitches or having tight tension. Ensure you are working into the chain spaces rather than the stitches themselves, as this allows the fabric to stretch properly.
Are these squares suitable for beginners?
This is a foundational pattern for beginners. It teaches the essential skills of working in rounds, managing corner increases, and understanding how to read a basic crochet chart or set of instructions.
Can I sell the squares I make from this pattern?
You are welcome to sell finished items made from this pattern, provided you credit the designer. Please do not sell or redistribute the pattern text itself as your own work.
Seeing all your finished blocks laid out in a grid is a quiet joy that makes every hour of work feel worth the effort. Try swapping your yarn for a lightweight bamboo blend if you want a softer drape that feels cool against your skin during the warmer months. Once you have joined your pieces, take a photo to share your progress with other makers. We love seeing how different palettes change the personality of this layout. Head back to the main archive to find more free projects for your next afternoon session.